Gravity Forms
Use gravity forms to manage your organization data
Introduction
Our plugin supports Gravity Forms. So you can use it instead of our Custom or Power Apps forms
Premium feature! This feature is available in the addon to the premium extension.
Form configuration
- Create a Gravity Form
-
To begin, navigate to Forms → Add New in Gravity Forms.
-
Add the necessary fields to the form.
-
Assign titles to each field to ensure clarity.
-
Once all required fields are set up, click the Save Form button to finalize the form creation.
- Configure Dataverse Feed
-
After saving the form, you must set up a Dataverse Feed to integrate the form with Dataverse.
-
Without closing your Gravity Form, go to Settings → Dataverse.
-
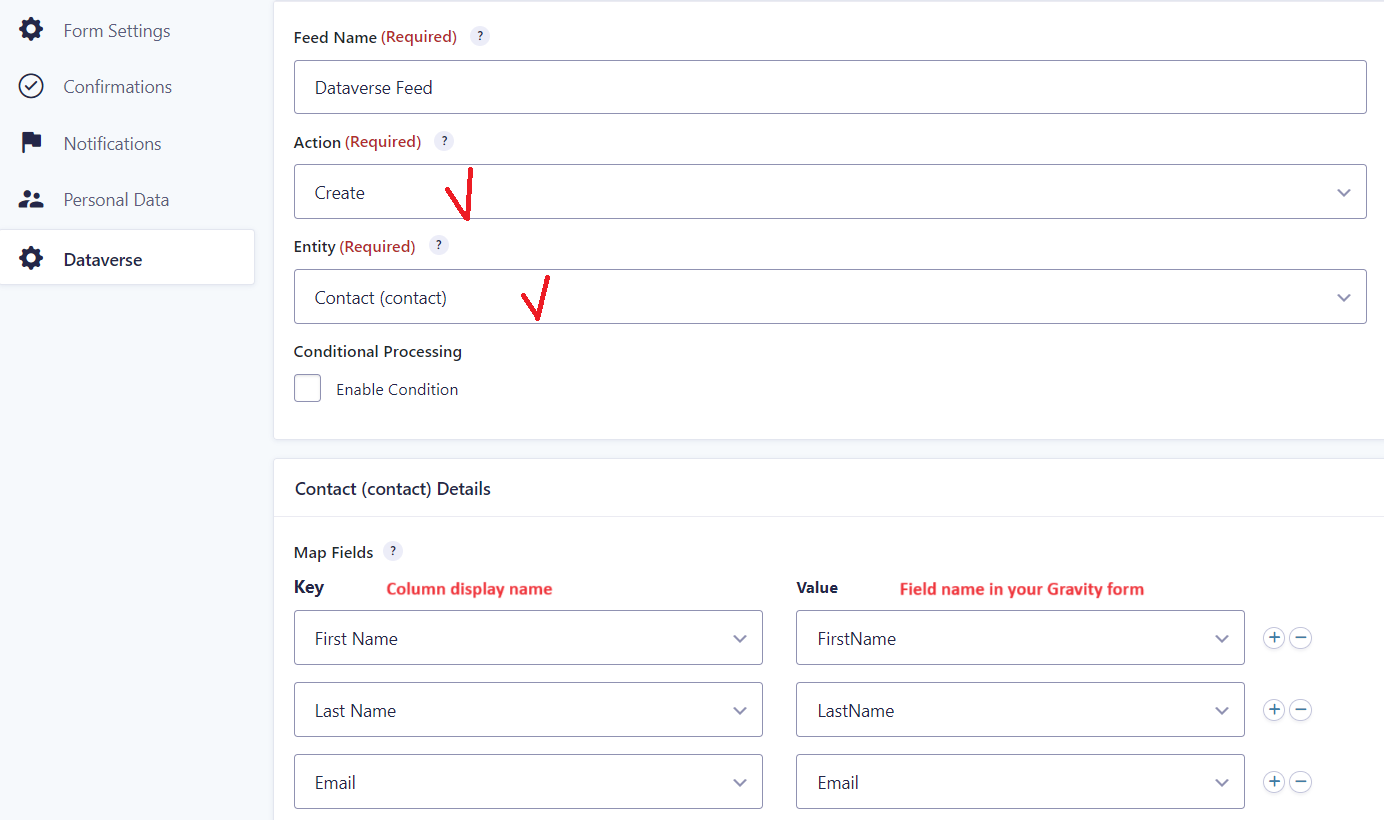
Follow the necessary configuration steps to map form fields to Dataverse columns.
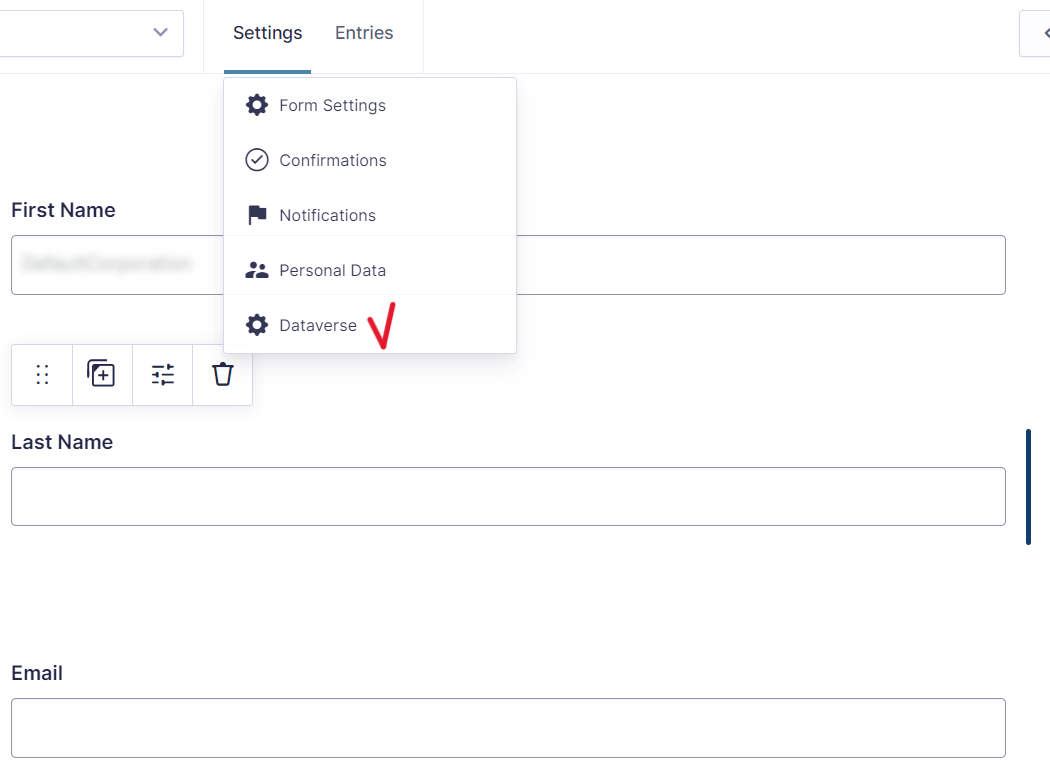
Then click Add New, select crm table, action type(create or update) and map form columns to crm columns(set a correspondence between the column name from crm (key) and the column name from the gravity form(value)).
Access to a table
Be attentive with the access to tables from Maker portal. Pages, based on Gravity forms do not show any error when you try to fill in and submit the form even if you don't have an access to this table. You click Submit and then you will see success message even when you don't have privilege to create a new record. In that case the administrator will get an email with the details.
Dynamic column population
If you want to set default values for columns you can follow these instructions:
- To set default value for standard columns go to
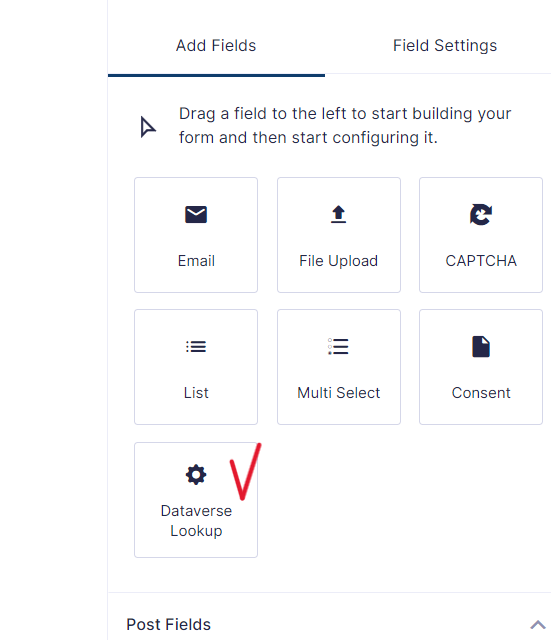
Field settingstab -Advanced. - To add lookup column you should go to
Add Fieldstab and chooseDataverse LookupfromAdvanced Fieldstab. Then you need to open theAppearancetab and set default value.
If you want to set default values dynamically for columns using the form's field_values attribute (see Dynamically Populating a Field), you can follow the following instructions.
- Add a new field, go to
Advanced Settingsand check theAllow field to be populated dynamicallycheckbox. - Specify a parameter name just below the
Allow field to be populated dynamicallycheckbox and save the parameter name. - Map the field to one of the Dataverse columns in the
Dataverse Feedsettings. - Remember your Gravity Form id.
- Go to
Pages->Add Newand chooseCustom HTMLblock
Example for setting dynamic value:
[gravityforms id="1" field_values="parameter_name=Dynamic Value"]
Note: The parameter name in the field_values attribute must be the same as specified in the 2nd point.
Note: When populate a lookup parameter, use the following syntax: parameter_name=entity_name:record_id.
Example for companyid parameter name (actual column name is parentcustomerid in the contact Dataverse table):
- Fixed value:
field_values="companyid=account:f5aaed4c-654c-4730-bd4f-38bc19a330bd"
- Using twig expressions to get dynamic value:
field_values="companyid=account:{{account.accountid}}"
How to bind a record by its guid
To bind a record on a page created with the help of Gravity Forms, follow these steps:
- Create a Gravity Form with an Update Action in Dataverse Feed:
- First, create a Gravity Form that includes the necessary fields for your record.
- Configure the form to perform an update action in your Dataverse feed.
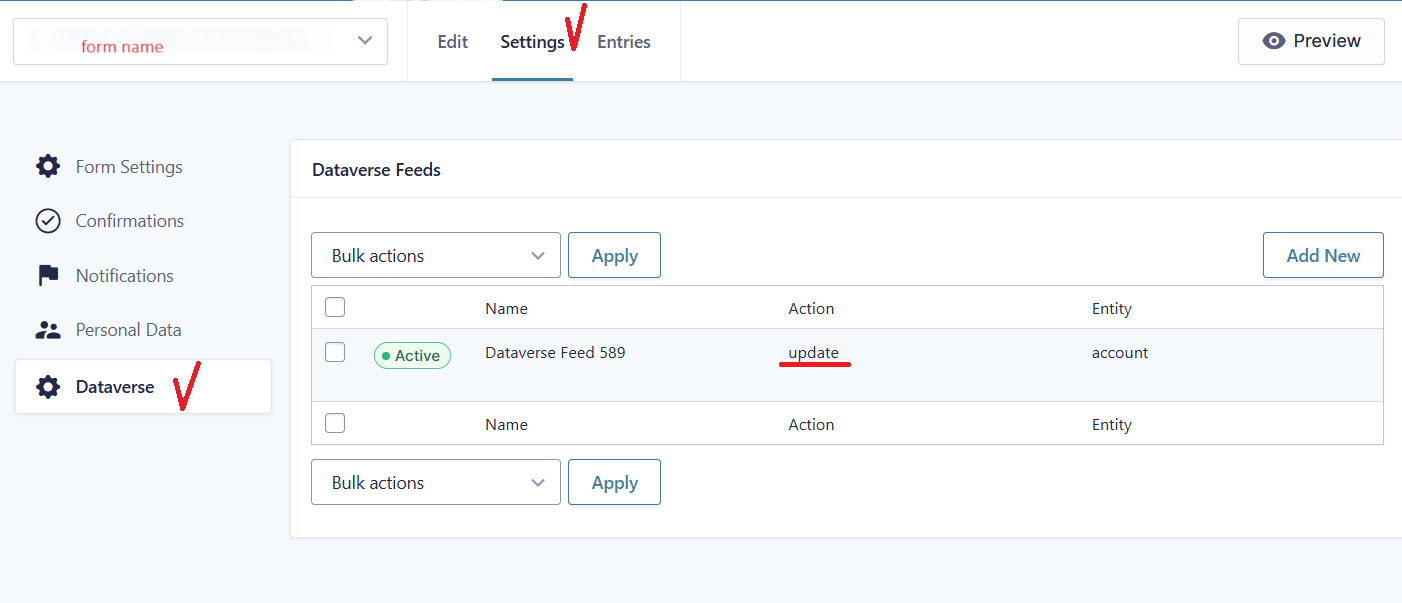
- Remember the name of this Gravity Form.
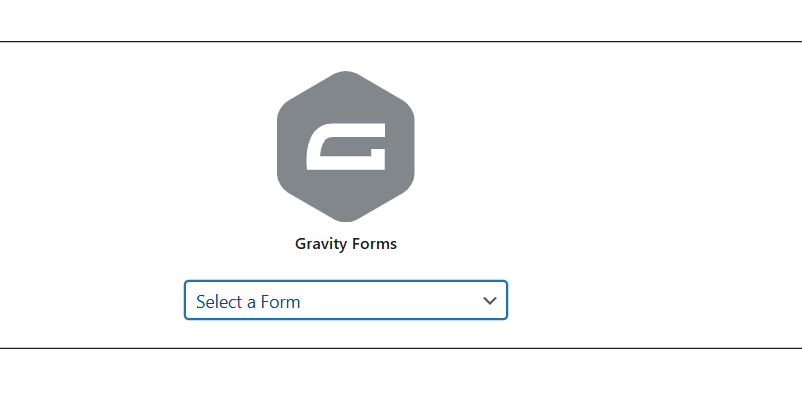
- Create a Page based on the Gravity Form Block:
- Create a new page. Use the Gravity Form block to build your page. Save the page.
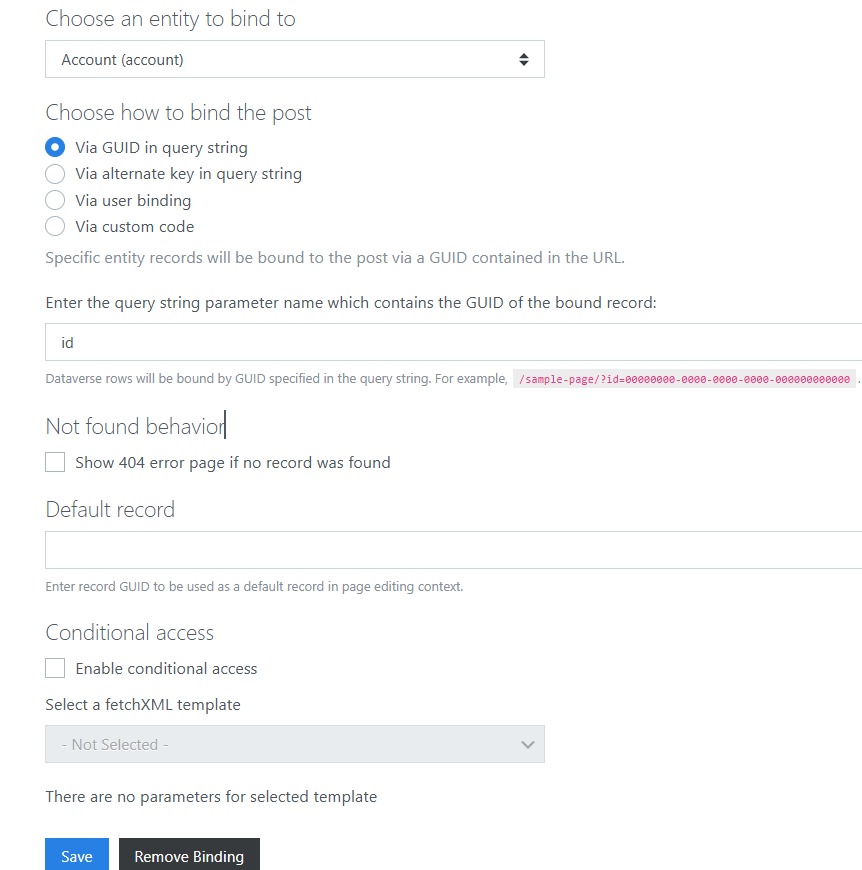
- Configure Binding for the Page:
- Locate the page you just created in your list of pages.
- Click
Configure binding->Setup binding. - Choose the appropriate table name and select the
Via GUID in query stringoption
- Add the Record GUID to the Page URL:
- Now you can include the record GUID as part of the URL.
- For example, if your record GUID is 65ffaf9a-e8c5-432d-860b-32f841b00d87, your URL could look like
https://yourwebsite.com/your-page?id=65ffaf9a-e8c5-432d-860b-32f841b00d87
Alternatively, you can use a shortcode to achieve the same result (use the Custom HTML block):
[gravityform id="1" action="icds" icds_record="account:2793c9dc-ff0d-ef11-9f89-0022489310b4"]
This shortcode will populate the form fields with values from the record with the GUID 2793c9dc-ff0d-ef11-9f89-0022489310b4 in the contact table. In this case you don't need to configure binding for the page, just to write the record guid in the Custom HTML block.
Handling Various Data Types
Lookup Columns
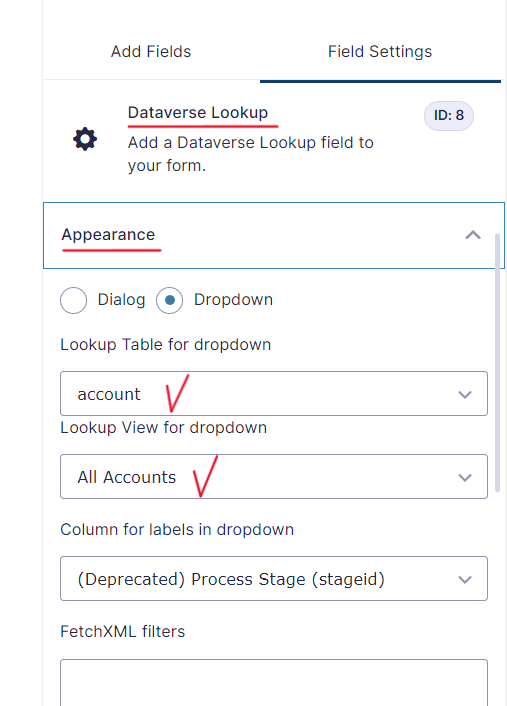
Lookup column supports two views for displaying the column: dropdown and dialog.
To select a view, you need to click the Add Fields tab and choose Dataverse Lookup from Advanced Fields. Then open the Appearance tab in the column settings.
If you select the dropdown, you must also select the table and view to lookup. The dialog view does not require any additional settings.
If you want to set a default value for Dataverse Lookup look at this example:
table:98837486-742e-ed22-9db1-00224893bd2f
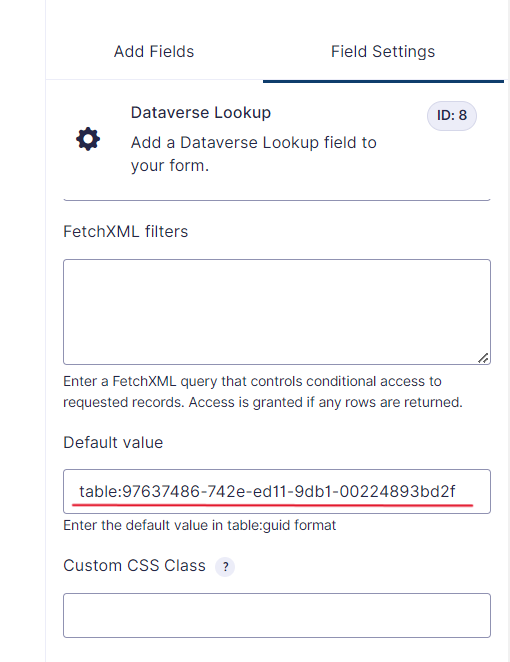
To control conditional access to requested records in dropdown or dialog use fetchXML filter.
Choice
Choice columns allow you to present dropdown lists with fixed values in your app, ensuring data consistency. Read more.
Choice columns can be configured as either single selection (choice) or multi-selection (choices).
Single Selection (Choice) - Radio Buttons
When a user must select only one value from the list, use Radio Buttons:
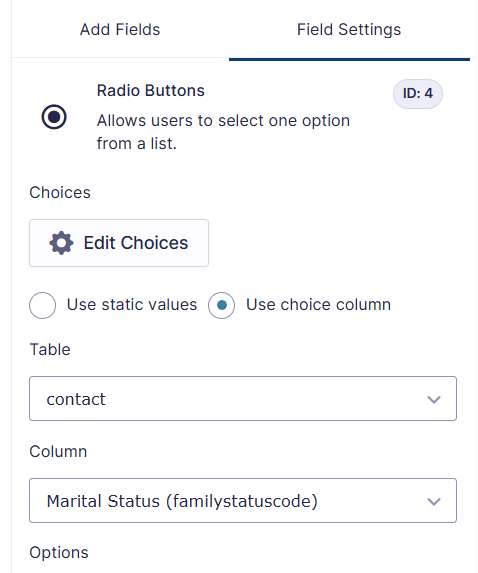
- Select the table and the column where the choice values are stored.
Map the selected Form Field to the corresponding Dataverse column in Dataverse Feed.
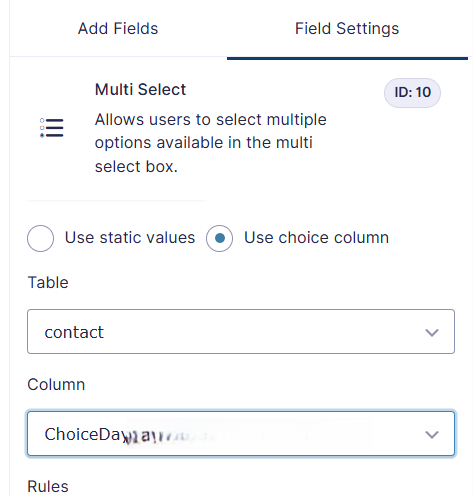
Multi-Selection (Choices) - Multi Select
For cases where multiple values can be selected, use Multi Select:
-
Select the table and the column where the multi-choice values are stored.
-
Map the selected Form Field to the corresponding Dataverse column in Dataverse Feed.
Date and time columns
To create a record with date and time data type columns you need to follow next steps:
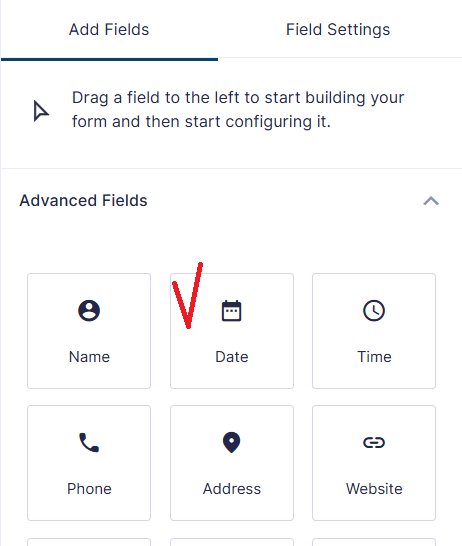
- Add a Date Field to Your Gravity Form:
- In your Gravity Form, create a field that captures the date. This field will store the date portion of your record.
- Configure the date field according to your requirements (e.g., date format, default value, etc.).
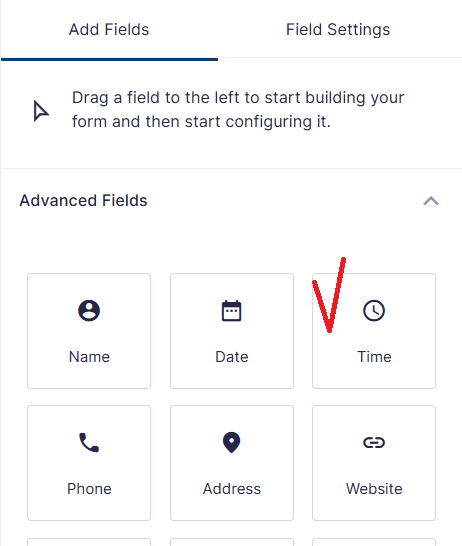
- Add a Time Field:
- Next, add a separate field to capture the time. This field will store the time portion of your record.
- Customize the time field settings as needed (e.g., 12-hour or 24-hour format, default time, etc.).
- Map the Fields and columns in Dataverse Feed:
- When configuring your Dataverse feed (integration with DataPress), you’ll observe that instead of a single column from the Power App, you’ll encounter two separate columns: one for the date and another for the time. These columns are
pseudo-columnsbecause they do not exist in Dataverse as standalone entities. Instead, they are derived by splitting or combining data from the source column as needed.
- Map the date field from your Gravity Form to the corresponding date column in Dateverse.
- Similarly, map the time field from your Gravity Form to the corresponding time column in Dateverse.

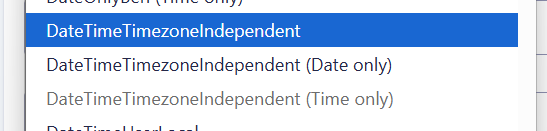
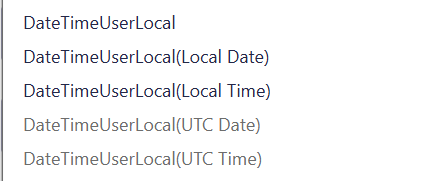
Here are two options. We recommend using Local Date and Local Time for the User Local behavior option, and Date Only, Time Only (or UTC Date and UTC Time) for the Time Zone Independent and Date Only behavior options. Read more
Dataverse Admin Area Settings:
Adjust the ICDS_DATETIME_VALUE setting with options like:
- Legacy
- UTC
- Local
The Time Zone Independent and Date Only behavior options works as UTC and don't depend on the user's timezone
Examples for the DateTimeUserLocal column which has User Local behavior:
| Legacy | UTC | Local | |
|---|---|---|---|
DateTimeUserLocal (UTC DateTime) (Date Only) | UTC | UTC | UTC |
DateTimeUserLocal (UTC DateTime) (Time Only) | UTC | UTC | UTC |
DateTimeUserLocal (Local Date) | convert the date to the user's timezone | convert the date to the user's timezone | convert the date to the user's timezone |
DateTimeUserLocal (Local Time) | convert the time to the user's timezone | convert the time to the user's timezone | convert the time to the user's timezone |
Examples for the DateOnlyUserLocal column which has User Local behavior:
| Legacy | UTC | Local | |
|---|---|---|---|
DateOnlyUserLocal (UTC Date) (Date Only) | UTC | UTC | UTC |
DateOnlyUserLocal (Local Date) | convert the date to the user's timezone | convert the date to the user's timezone | convert the date to the user's timezone |
In case, when you set only time value, the date represents the date zero (January 1, 1900).
File upload columns
You can set maximum attached file size for File upload column in Gravity Forms. But you should also remember about the file size limits which are set for such columns in crm. So that your maximum attached file should not be more than the size from the crm column settings.
At current moment we don't support uploading multiple files.