Installation & Configuration
Premium features
This is a premium feature. For more details see Premium Edition.
Our Premium Plugin Features.
Form Management and CRM Tables:
- Customize columns (fields) by adding or making them optional.
- Set default values for columns.
- Apply filters and configure bindings.
- Adjust language for columns and buttons.
General Settings:
- Create global settings for all forms or specific ones.
Views Management:
- Customize views (e.g., change language, add pagination, parameters).
- Utilize fetchXML templates (for row filtering).
Elementor Integration:
- Create and edit forms seamlessly using the Elementor plugin.
- Display and update records.
- Show fields value.
Gravity Forms:
- Build beautiful forms with Gravity Forms.
- Edit records (rows) with additional addons.
Install Premium Features
Solution Installation Required
All premium functionality requires the DataPress Solution to be installed in your Dataverse environment. Without the solution, premium features will not function, even if you have an active license.
This section walks you through:
- Activating your license
- Installing the premium plugin
- Installing the DataPress Solution (required)
Licensing
To unlock all the features of the Premium version of the plugin, you must activate your license in the DataPress Admin Area.
How to Activate Your License
- Navigate to DataPress → Status in your WordPress admin dashboard.
- Locate the Licensing status. You will see two options:
Option A: If you are registering for the first time If you don't have a license key yet and need to register your organization:
- Select the Register option.
- Fill in the required fields: Company Name, First Name, Last Name, and Email.
- Click the Register button.
Option B: If you already have a license key If your organization is already registered and you have a key:
- Select the License key option.
- Enter your existing key into the text box.
- Click Submit (or the submission button).
Verification
Once the license is successfully applied, the section will display License status: Licensed. You will then see all relevant license details, including your plan type and expiration date.
Create Application Password
- Sign in into your WordPress site.
- Select a user with admin privileges (user with the Administrator role) or create a new one for Dataverse to connect back to the site.
- Click Edit Profile.
- Type password name in New Application Password Name text box and click the Add New Application Password button. It will be application password.
Configure DataPress Solution
The DataPress Solution must be installed in Dataverse before any premium features can work. This is a mandatory step.
When the plugin is connected to CRM, and you can start building the integration.
Then you will see that you have been connected to your environment.
The Site Registration in Dataverse paragraph will appeare at the bottom of the page.
Click Add registration. In that case you will see Site Registration in Dataverse: Registered status and can open Connection details.
If you click the Add registration button at the moment of plugin connection you can skip Configure DataPress Solution paragraph. Or anyway you can configure Dataverse Solution instead of clicking Add registration.
You can skip this paragraph if you click the Add registration button at the moment of plugin connection.
When adding a registration, you may encounter a 403 error. Follow these steps to resolve the permissions issue.
- Download latest DataPress solution.
- Sign in into https://make.powerapps.com.
- Select Solutions then click Import solution and import downloaded solution(from step 1) into your Dataverse / Dynamics 365 instance.
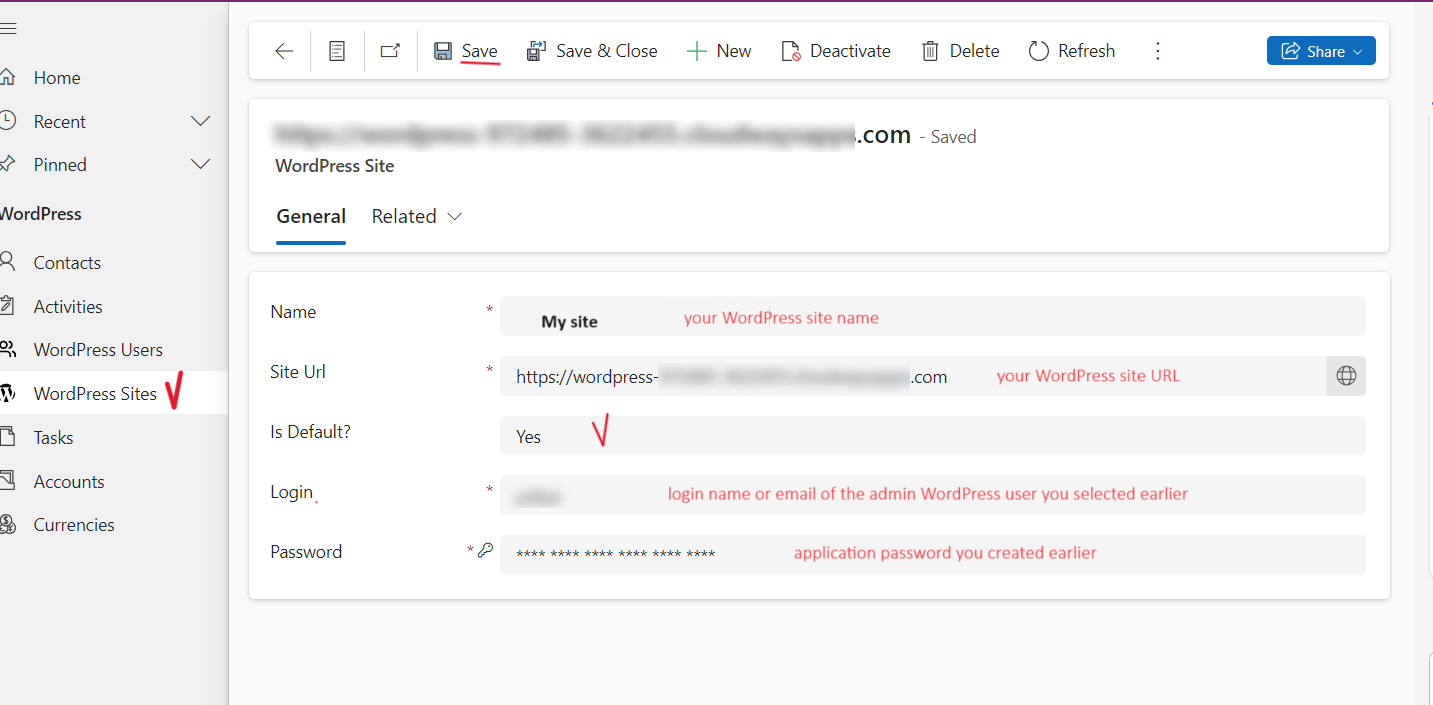
- Select Apps then select WordPress.
- In the app, from lhe left menu select WordPress Sites tab.
- Select + New and enter the following information:
- Name: <your WordPress site name>.
- URL: <your WordPress site URL>.
- Is Default?: Yes.
- Login: login name or email of the admin WordPress user you selected earlier.
- Password: application password you created earlier.
- Save the row (at the top of the page you will see "Successfully connected to the site" message).
Install WordPress Premium Solution
- Sign in into WordPress as an administrator.
- In the left-hand navigation menu, select DataPress.
- Navigate to the Extensions tab.
- Locate and download the DataPress Integration Premium package.
- Click Back to WordPress to return to the main dashboard.
- Go to Plugins → Add New Plugin, then upload the downloaded
.zipfile.
Important Notice about DataPress 2.85 and Later
Starting from version 2.85, the DataPress admin interface has been significantly updated. To ensure your experience matches the instructions in this documentation, please make sure you have updated the DataPress plugin to version 2.85 or higher.
If you are using an older version, the interface and available features may differ, resulting in a mismatch with the documented steps.
For backward compatibility, we continue to provide links to previously used addons in the Extensions tab. However, please note:
These addons are deprecated and should not be used with DataPress 2.85 or later.
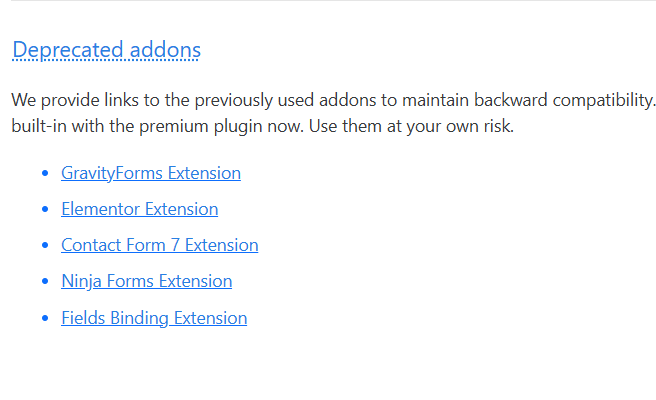
All addon functionality is now built into the premium plugin.
Use of deprecated addons is at your own risk.
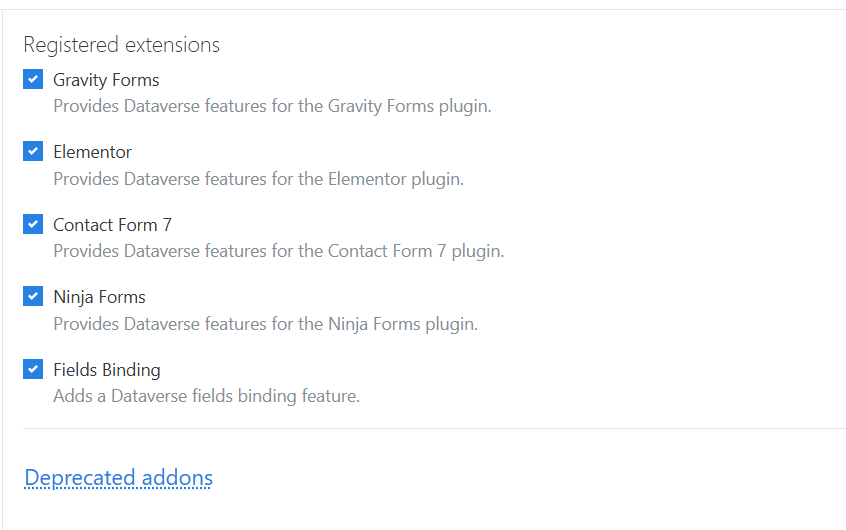
You can manage all extensions directly in the Extensions tab. From the Registered extensions section, you can enable or disable individual addons as needed.
Rollback process
If you need to revert to the old free plugin version you can download it here or use plugin like WP Rollback.
If you need to roll back to an old premium plugin version, first of all Deactivate premium plugin and then download an old version.