Install WordPress Components
To set up the solution on your website, you will first need to install the necessary WordPress components. To start with, go to the admin section of your WordPress site. If you don't have one, refer to the WordPress article Build Your Website in Five Steps for guidance.
DataPress plugin
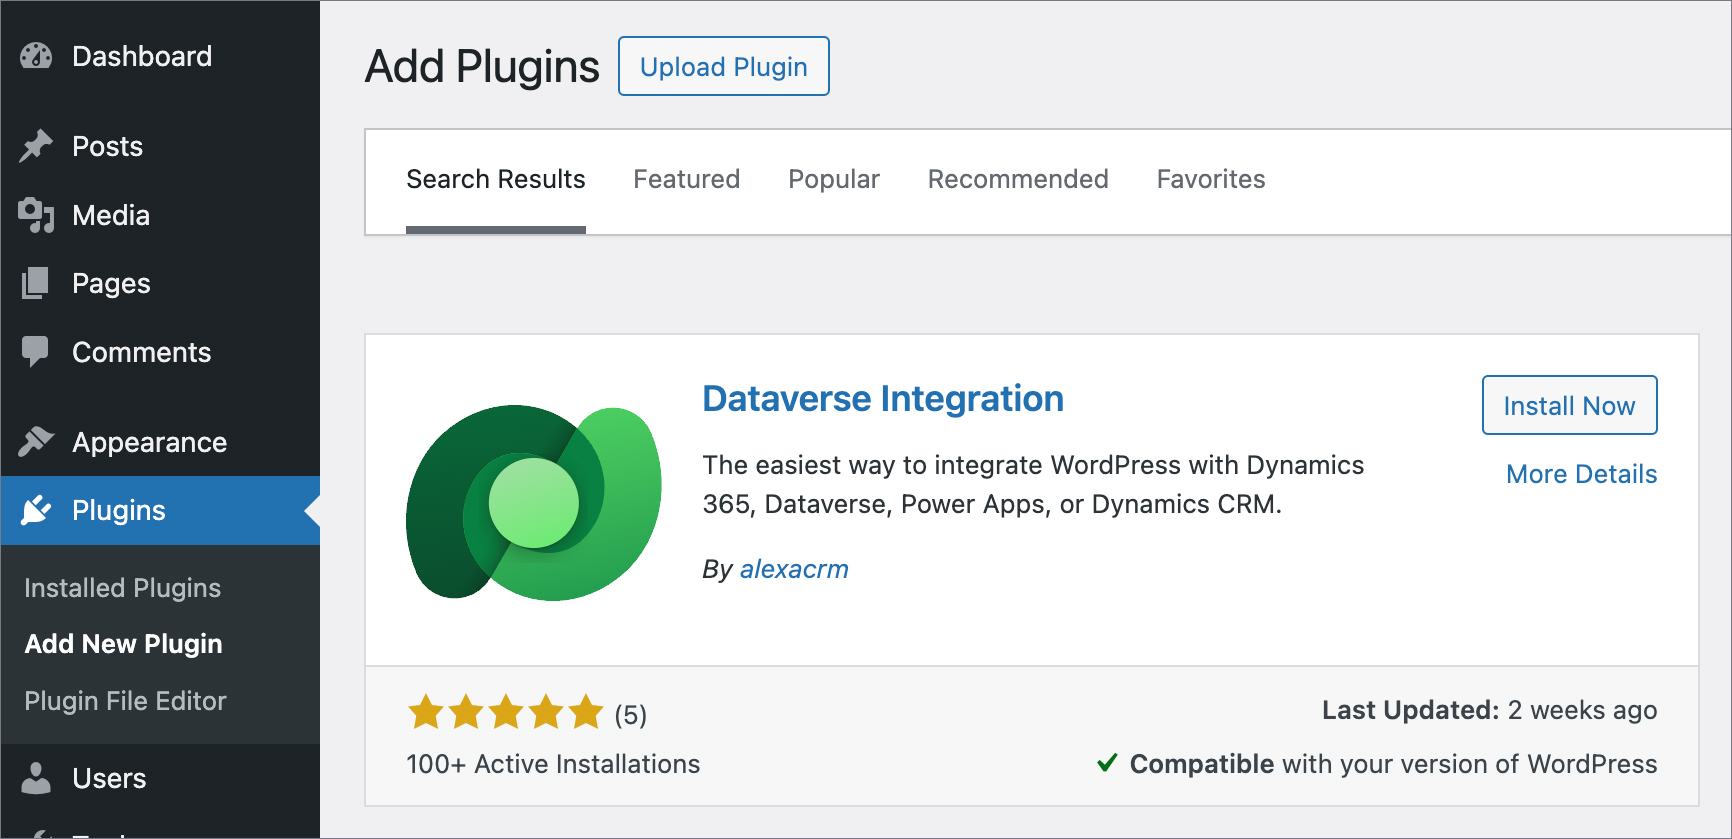
Go to the Plugins tab and click Add New Plugin. Search for Dataverse Integration (currently renamed to DataPress).
You require the Premium DataPress plugin extension. Follow the instructions how to Install Premium Features to enable it.
Other plugins
Breeze is a WordPress Caching Plugin developed by Cloudways. Breeze uses advance caching systems to improve WordPress loading times.
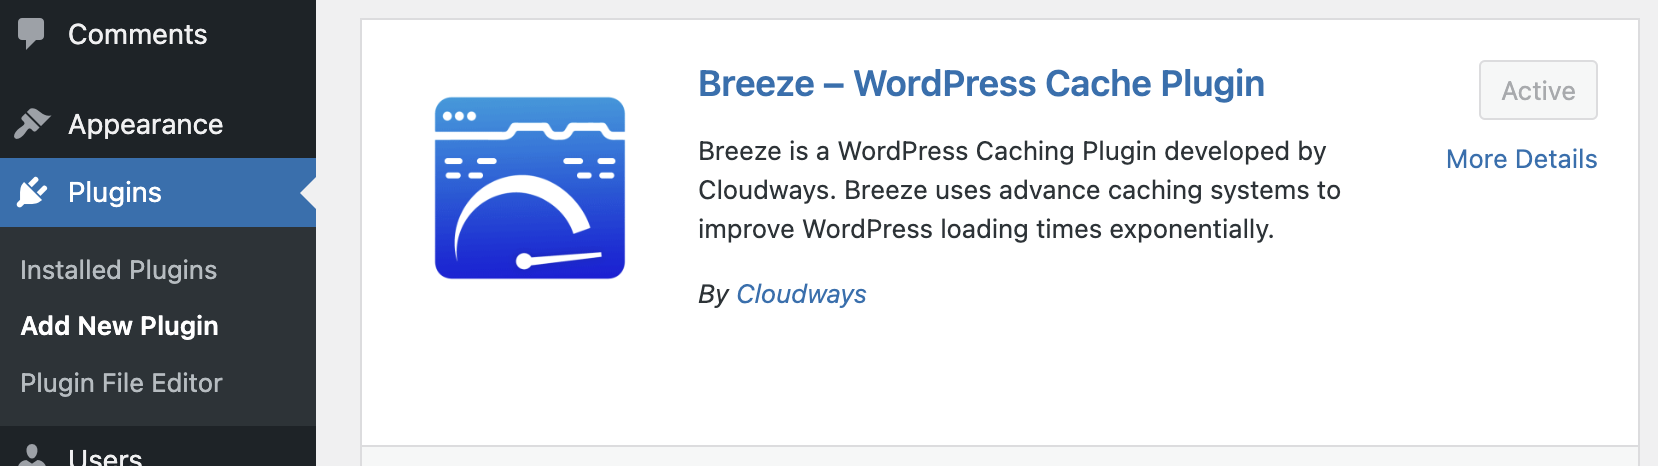
The use of this plugin is optional and depends on your specific requirements.
If your caching provider allows varying cache by query string parameters, pp and past should be added to the list of parameters.
The Profile Builder plugin is used to customize the site's basic color scheme.

Templates
After setting up the plugin, download the Twig templates from GitHub and install them in the Twig Templates section of your WordPress site.
Go to Dataverse in the side menu → Settings. Find the Import Configuration Settings section, browse for the file you just downloaded, and click the Import button.
Before performing this step, make sure you don’t have any custom templates you need to keep. The import action will overwrite all existing Twig templates.
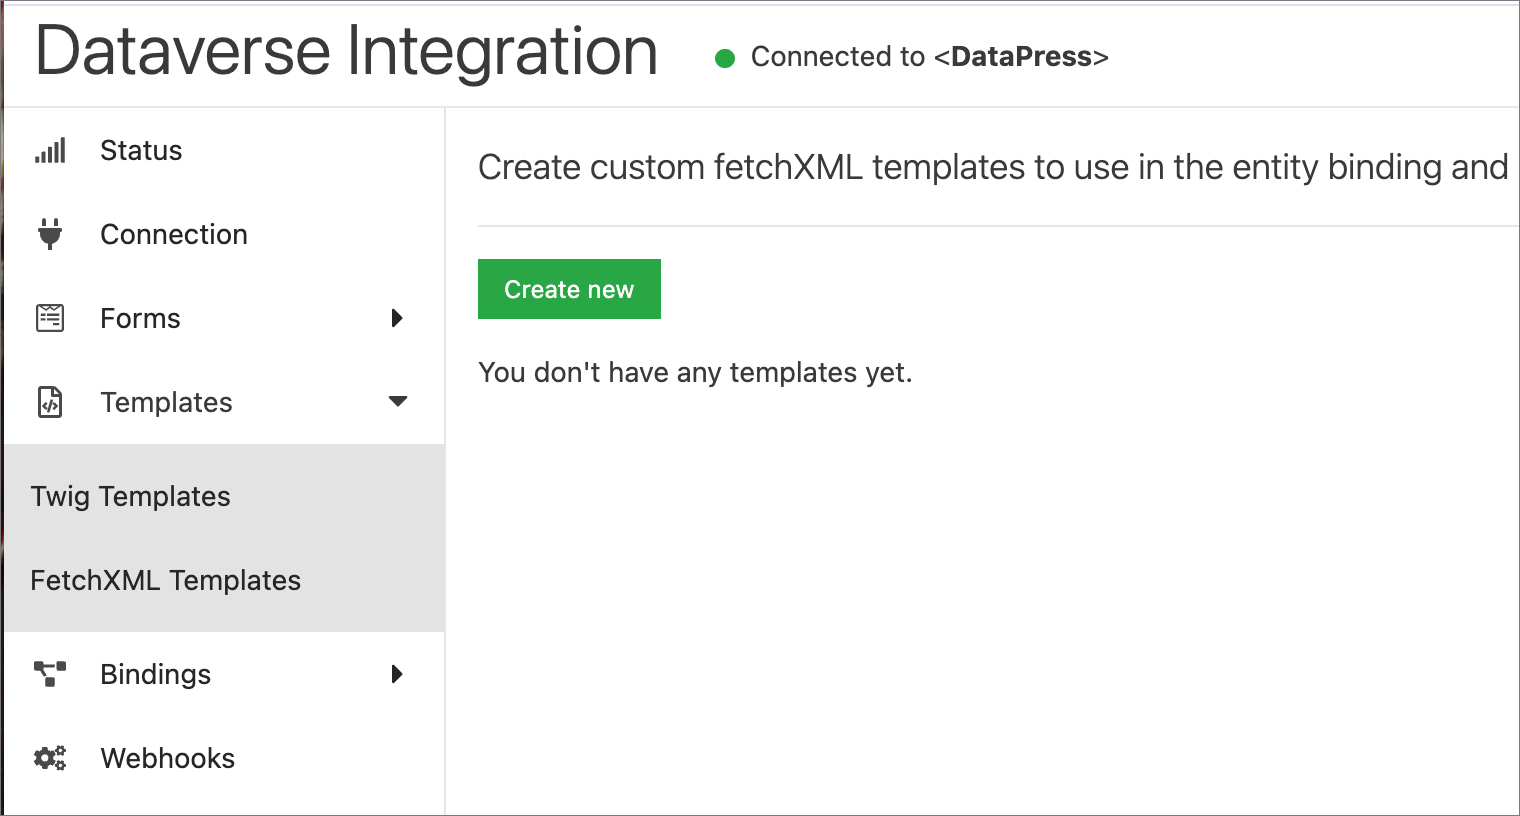
The twig templates are stored under Dataverse → Templates → Twig Templates.
WordPress Pages
Add required pages Access Restricted, My Cases, Case Details, Create Case, My Profile, and Settings

Add Dataverse Twig block and include twig templates using the next code.
In the Access Restricted page:
{% include 'styles' %}
Then add Paragraph block and add text
"We're sorry, but access to this area is limited to registered customers only.
If you’re a customer, please log in to continue. If you believe you’ve received this message in error, feel free to contact our support team for assistance.
Thank you for your understanding!"
Add link to your login page on 'log in' words.
In the My Cases page:
{{ include('styles') }}
{% if not user.is_bound %}
    <script>
        window.location.href = "https://forceworks.com.au/log-in";
    </script>
{% else %}
    {{ include('list_cases') }}
{% endif %}
In the Case Details page:
{{ include('styles') }}
{% if not user.is_bound %}
    <script>
        window.location.href = "https://forceworks.com.au/log-in";
    </script>
{% else %}
{{ include('case_details') }}
{% endif %}
In the Create Case page:
{{ include('styles') }}
{% if not user.is_bound %}
    <script>
        window.location.href = "https://forceworks.com.au/log-in";
    </script>
{% else %}
{{ include('create_case') }}
{% endif %}
In the My Profile page:
{{ include('styles') }}
{% if not user.is_bound %}
    <script>
        window.location.href = "https://forceworks.com.au/log-in";
    </script>
{% else %}
{{ include('my_profile') }}
{% endif %}
In the Settings page:
{{ include('styles') }}
{% if not user.is_bound %}
    <script>
        window.location.href = "https://forceworks.com.au/log-in";
    </script>
{% else %}
[wppb-edit-profile]
{% endif %}
Page Binding
When you hover over the page name, a menu appears where you should click Configure Binding.
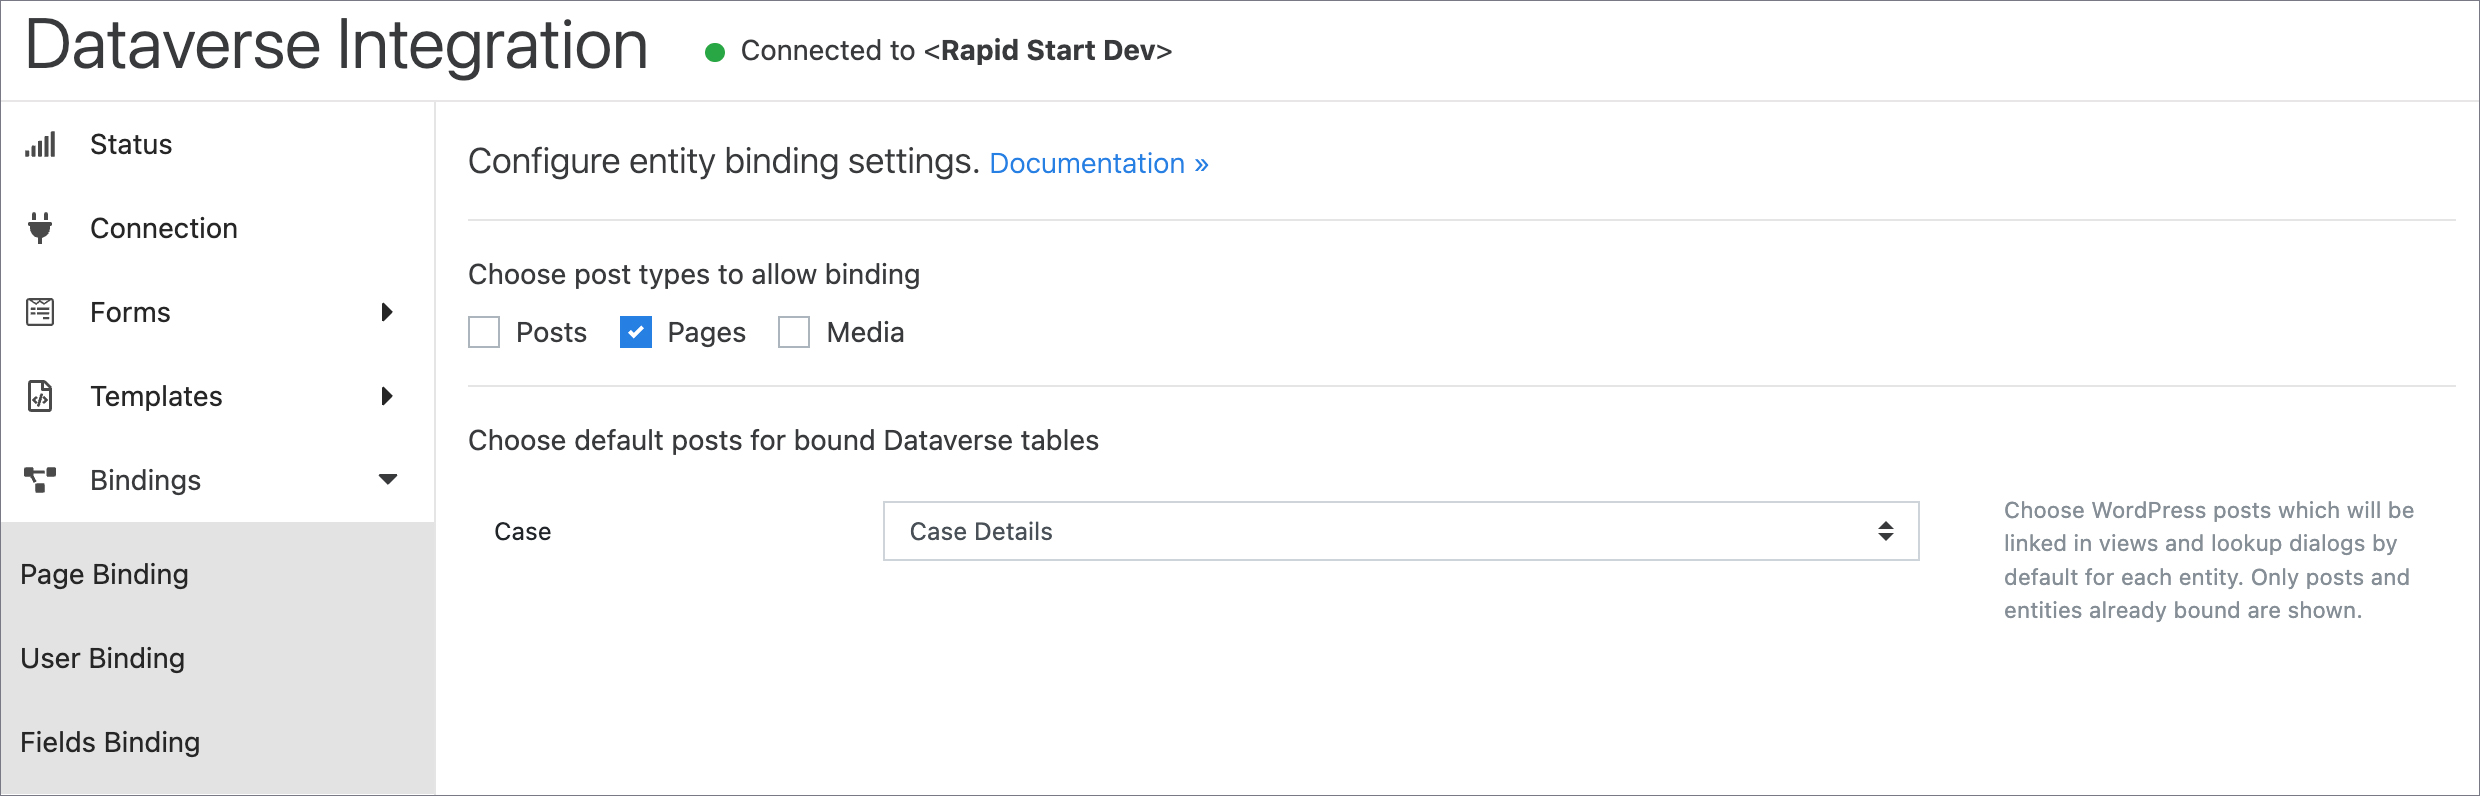
For the Case Details page, set the parameters below and click Save afterward.
Settings:
- Choose an entity to bind to: 'Case (wf_case)'
- Choose how to bind the post: Via GUID in query string
Then, return to the Dataverse Admin area and go to Binding → Page Binding. Under Choose post types to allow binding, check Pages. For the Case label, choose the Case Details page.
Read more about binding WordPress pages to Dataverse tables using the DataPress plugin here.